This past week, I handed out instructions for a project to my classes. In the instructions, I included step-by-step pictures of what the students were supposed to do. Several of the students asked how I got those pictures.
Taking a picture of what is on your computer screen is called a screen capture. It is pretty easy.
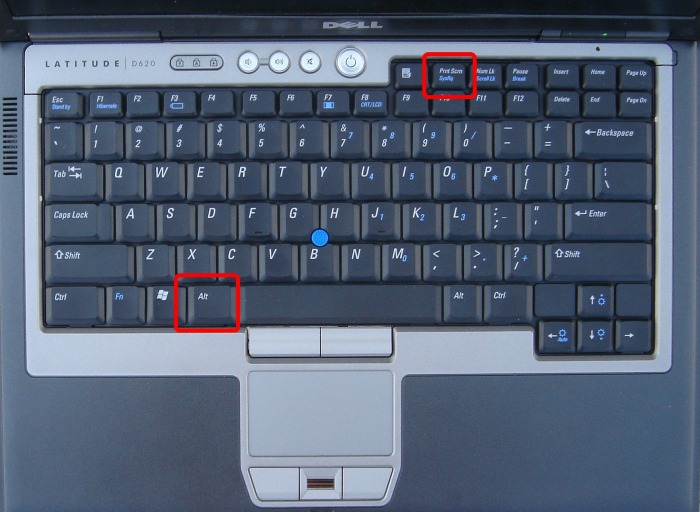
If you are working on a PC, the command you want to type is Alt-PrntScrn.
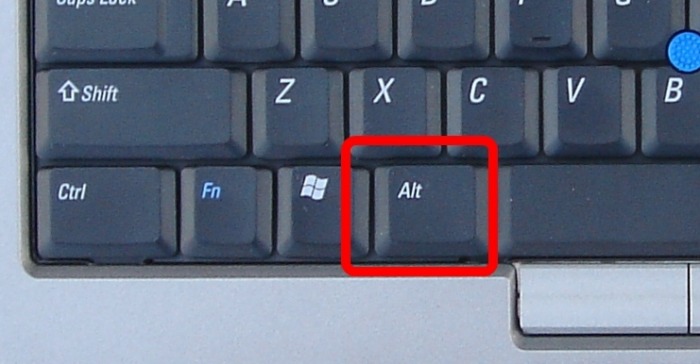
On either side of the spacebar on your keyboard, is a key labeled, ALT. Press that.
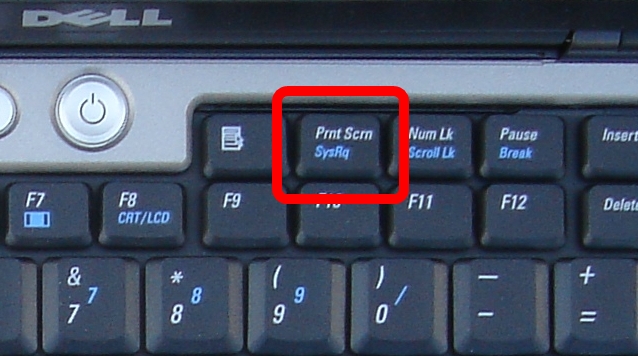
At the same time, press the key above your F10 key, labeled Prnt Screen.
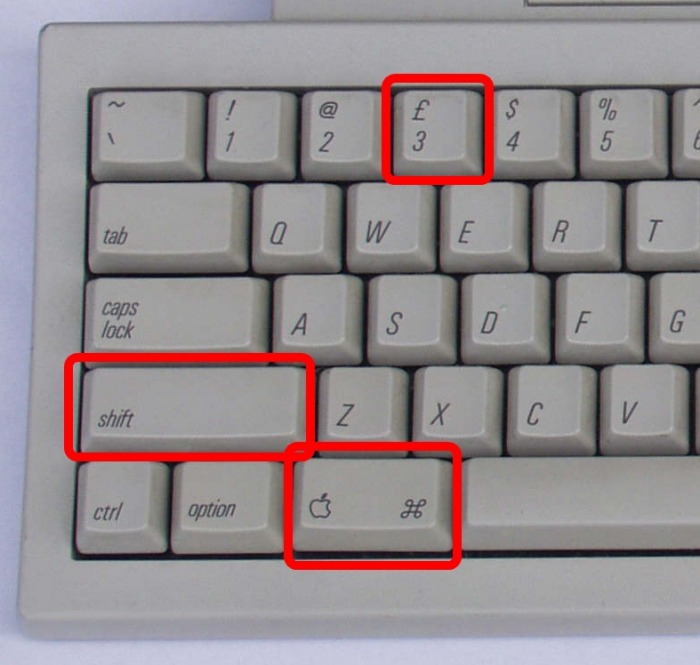
If you are working on a McIntosh, the command is Command-Shift-3.
There won't be any flashes of light or sounds or anything. The first time you do this, you won't think you've done anything, but you will have.
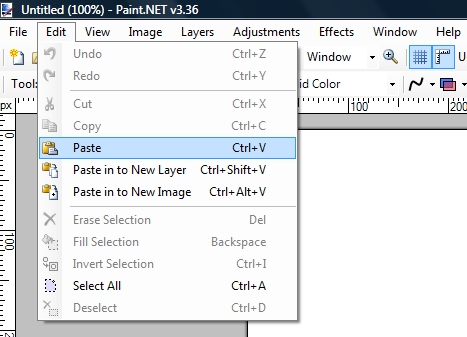
Now, open whichever program you normally use for working with pictures - it could be Paint, or Microsoft Photo Editor (both of these are on the network at DCS) or Photoshop, GIMP or Paint.net. I happen to use Paint.net, but that is just a personal preference.
Choose the Edit menu, then Paste.
You may want to crop the image or add graphics. Go nuts. Then all you need to do is save the picture.
Notes:
1. If you are trying to show a pull-down menu, it works better to press the Prnt Scrn key first, THEN the Alt key.
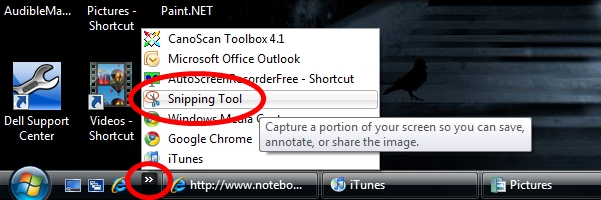
2. If you are using Windows Vista, there is a very helpful application already in place in the taskbar at the bottom of your screen called Snipping Tool, that will make this process even easier.
 RSS Feed