I spend a lot of time and energy trying to come up with hands-on projects for my 7th and 8th graders. Last year, my 7th graders had trouble wrapping their heads around the concepts of latitude and longitude, so this year, I decided to try a project I've heard about a few times at conferences - having each of my students make their own globe out of papier-mâché.
Here are the lessons I learned along the way:
Here are the lessons I learned along the way:
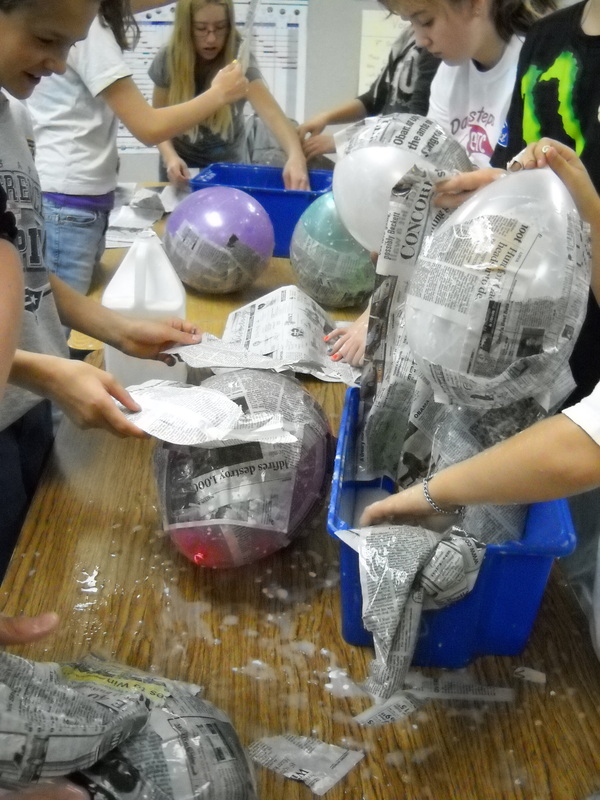
Lesson #1 - Put down a drop cloth of some kind.
The glue takes forever to scrub off of the table-tops. For the second day of actual papier-mâché-ing, I picked up some shower curtain liners at the dollar store.

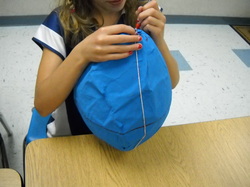
Lesson #2 - Use small pieces of paper.
Students really, REALLY want to use large pieces of paper, to cover as much of their balloons as possible, quickly, but small pieces give them much more control and fewer wrinkles to work with later on.
(One of my Art colleagues clued me into the recipe for the glue - 1 part Elmer's glue to 3 parts water.)
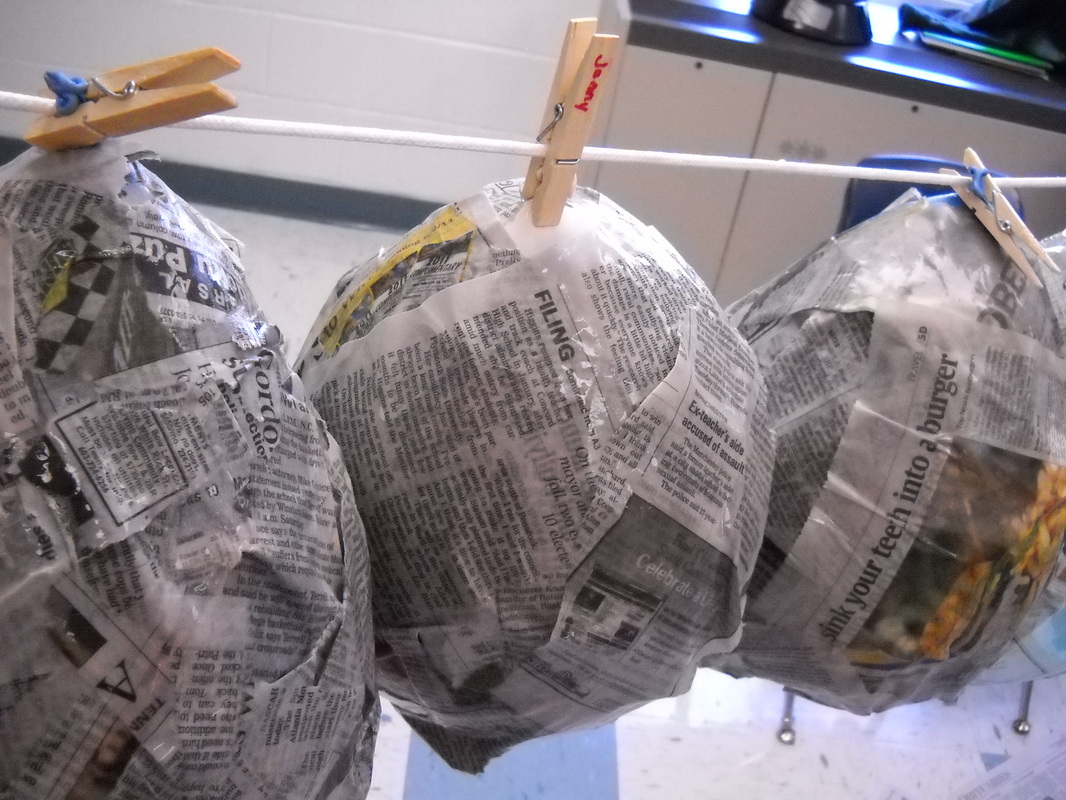
Lesson #3 - Let the papier-mâché dry thoroughly.
I set up clothes-lines in my classroom and used clothes-pins with the students' names on them to hang the globes up over a weekend. It would not have been the end of the world if the globes had still been damp when the first layer of paint went on, but it made painting a bit smoother.
I set up clothes-lines in my classroom and used clothes-pins with the students' names on them to hang the globes up over a weekend. It would not have been the end of the world if the globes had still been damp when the first layer of paint went on, but it made painting a bit smoother.
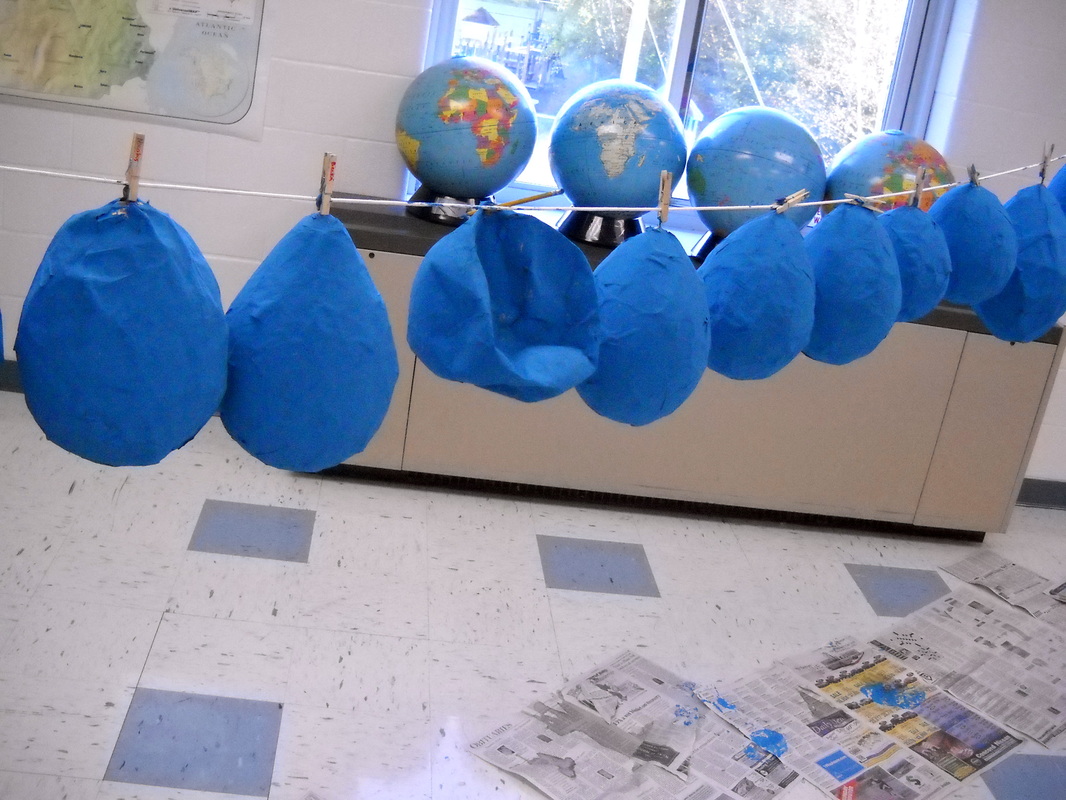
Lesson #4 - Put down newspaper under the globes as they dry.
I work hard to stay on the good side of our janitorial staff (more about that, below); I didn't want to squander their good will by leaving blobs of glue or paint on the floor.
Also, do NOT let the students pop the balloons. The inside of their globes are glued to the balloons and the sudden depressurization caused by popping one can make the papier-mâché collapse in on itself. (See photo.)
Lesson #5 - Risk the rubber bands.
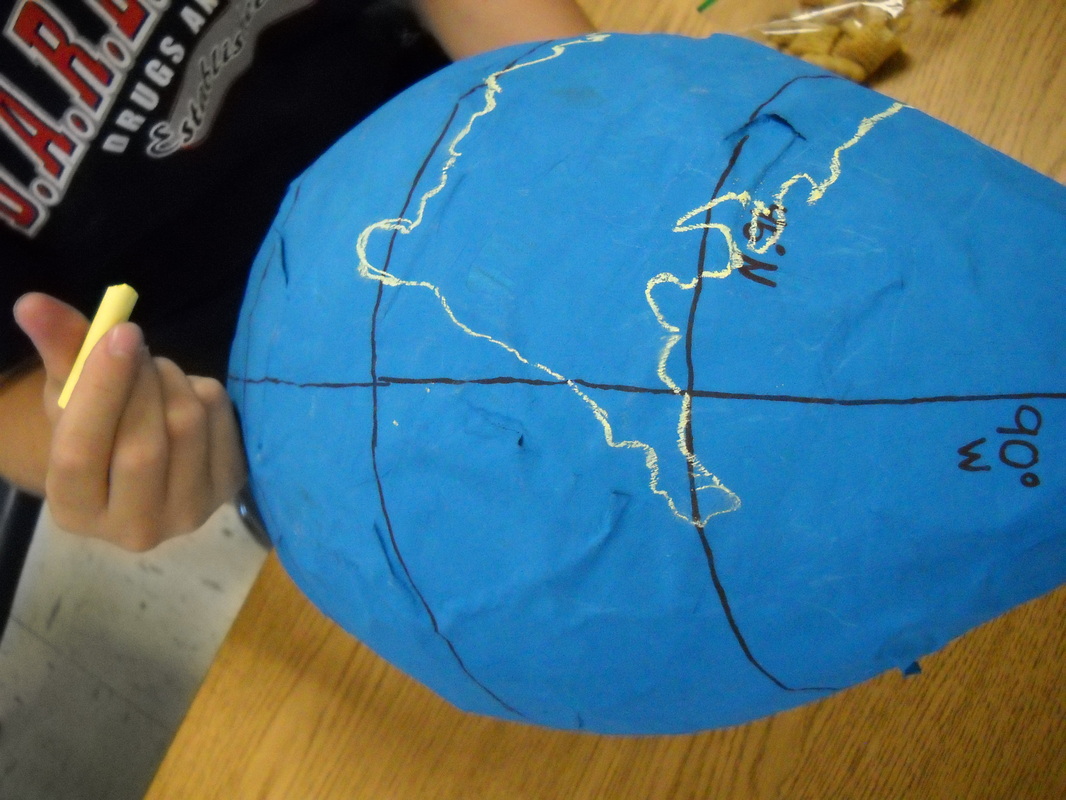
The best way to draw latitude and longitude lines on an egg-shaped object is to use large, sturdy rubber bands to represent the lines. Students use Sharpies to trace along the rubber bands.
I tried to avoid the inevitable knuckle-headed rubber-band shooting by having students use string instead, but the string does not grip the outside of the globe as well at the rubber.
Use the rubber bands.
I had each student draw an Equator, a Prime Meridian, an International Date Line (I simplified this and had them draw a straight line at 180 degrees), and two additional latitude lines. Rather than mess around with the Tropics of Cancer and Capricorn or the Arctic and Antarctic Circles, I had them draw lines at 45 degrees North and South. This gave them some rough grids to use when drawing in the continents.
This is where the odd shape of the balloons worked for us in an odd way - because these globes were not spherical, students had to pay extra-close attention to the latitude and longitude lines when they were placing their continents. They couldn't just make eye-ball measurements; they had to read the coordinates off maps and other globes carefully.
Lesson # 6 - Use chalk to outline the continents.
It usually takes a student several tries before he or she gets the size, shape and position of the continents right. Yellow or white chalk is easily visible and easily erased during the rough drafts.
It usually takes a student several tries before he or she gets the size, shape and position of the continents right. Yellow or white chalk is easily visible and easily erased during the rough drafts.
Lesson #7 - Shake the paint vigorously.
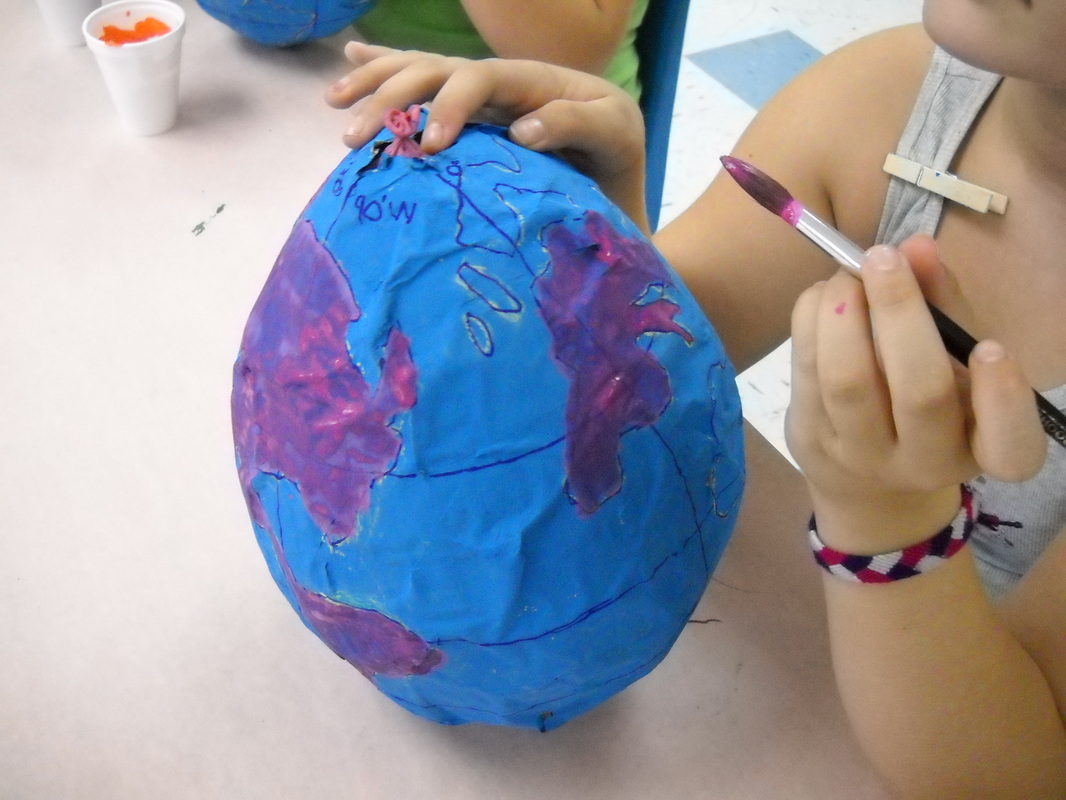
I allowed my students to pick their own colors for their continents. This proved to be very important to them - they were very excited about making those choices. I found 1-gallon jugs of tempera paint in a supply closet, which was great, but clearly this paint had not been used in quite some time and it took two or three days of vigorous shaking to bring the paint to a thick, spreadable consistency.
I allowed my students to pick their own colors for their continents. This proved to be very important to them - they were very excited about making those choices. I found 1-gallon jugs of tempera paint in a supply closet, which was great, but clearly this paint had not been used in quite some time and it took two or three days of vigorous shaking to bring the paint to a thick, spreadable consistency.
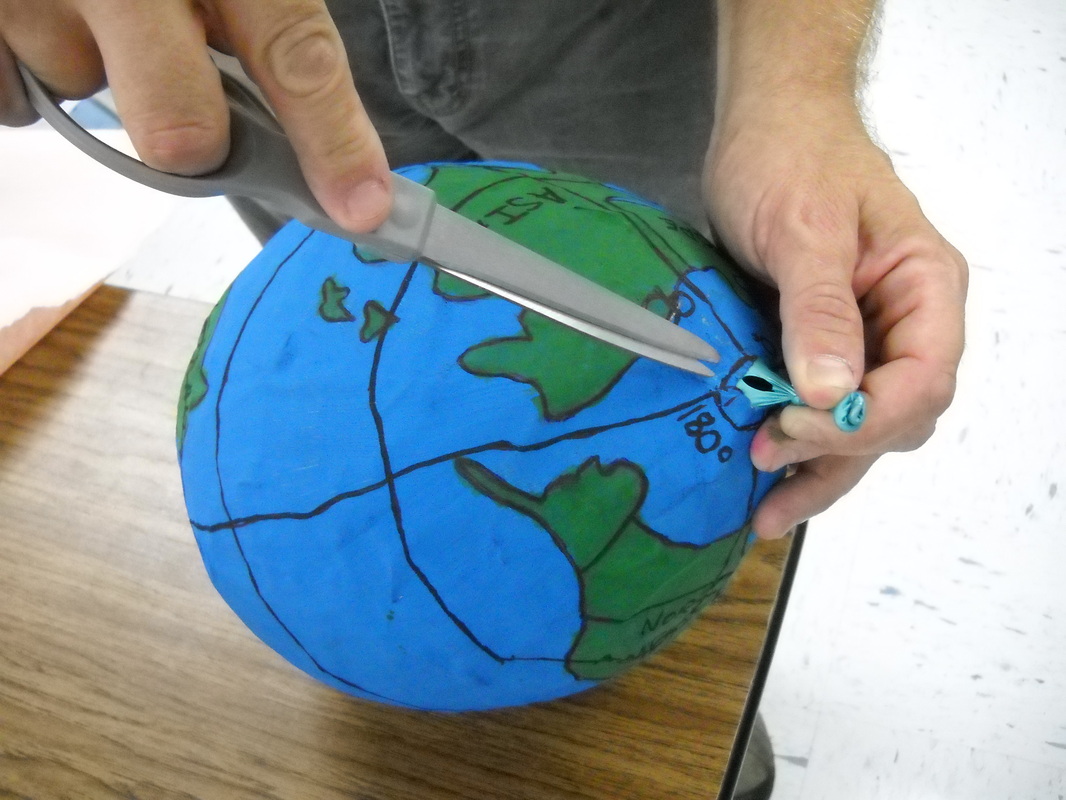
Lesson #8 - Stab it in the neck.
When the time comes to deflate the balloons, it is best to let the air out slowly, to avoid the aforementioned explosive decompression and implosion. By snipping a small hole in the neck of the balloon, the balloon will pull itself away from the wall of the globe gradually, with a cool crackling sound.
When the time comes to deflate the balloons, it is best to let the air out slowly, to avoid the aforementioned explosive decompression and implosion. By snipping a small hole in the neck of the balloon, the balloon will pull itself away from the wall of the globe gradually, with a cool crackling sound.
Lesson #9 - Have them reflect on what they've done.
When the globes were finished, they looked great, but I was left with a couple of questions:
1) What did the students actually learn from all this? We had invested two weeks of class time to this endeavor; was it justified, academically?
2) How do you even grade something like this? Are you looking at total accuracy? Artistic merit? Effort?
In the end, I had my students write some reflections. About half-way through the process, I asked each of them to write me a one-page reflection of what had been the most frustrating part of the project thus far. Toward the end of the project, I had each student write a reflection about what had gone well and made them proud. When the entire project was completed, I had them use the two previous reflections as a rough draft for a reflection on the project as a whole, concentrating on what they had learned. I was clear on the point that they had to tell me about concrete, tangible skills - not fuzzy, ideological ones. "I learned that if I try really hard, I can accomplish anything!" doesn't really give me a good overview of what they learned about latitude and longitude.
Most of the students gave me gratifying feedback. A few said something along the lines of, "I learned how to make a globe", but most mentioned a greater understanding of latitude, longitude and placement of the continents.
Here is the rubric for that final reflection.
I gave the globes and the reflections a Test grade each. (Unless there were SERIOUS placement issues or missing continents, just about every student got an A or a B on his or her globe. They all worked hard and well.)
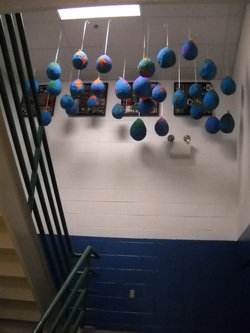
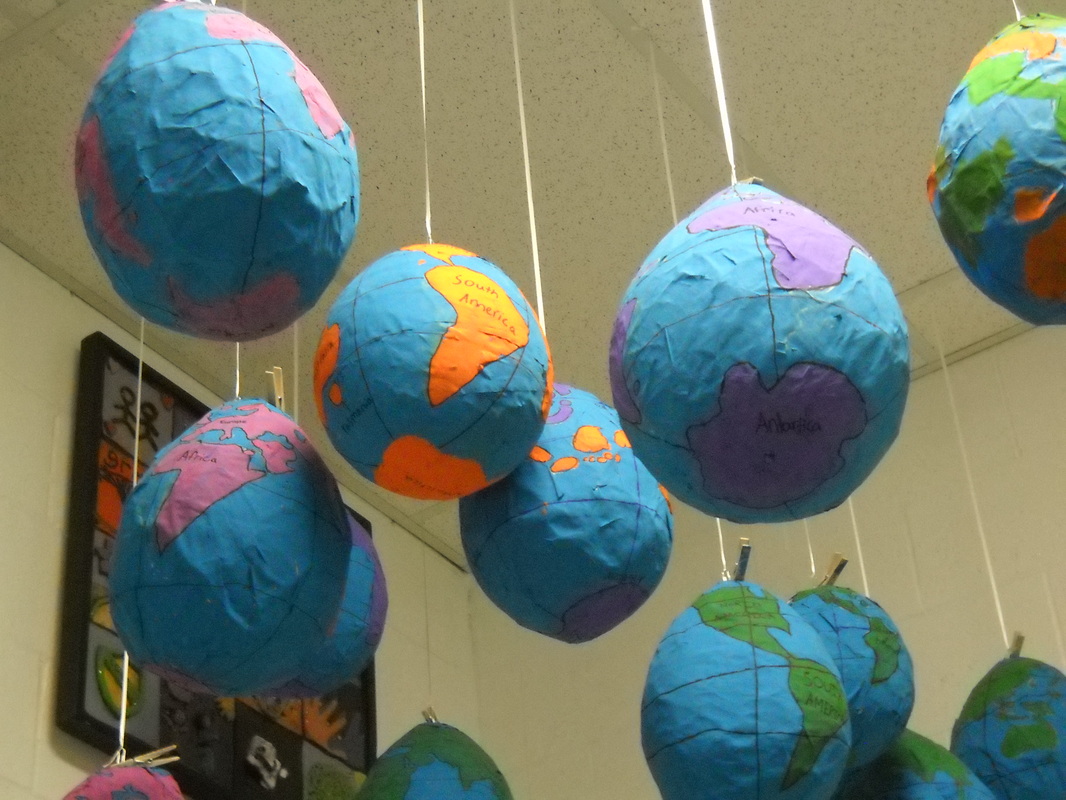
Lesson #10 - Display them proudly.
Not every individual globe was glorious. Most had some very oddly shaped continents, for instance. Overall however, they looked great. The students were proud of them and anyone walking by my classroom - students or staff - was really impressed with what a good job my guys had done. I wanted to display them in a way that gave my 7th graders a chance to show off their work. At the suggestion of my Assistant Principal, I borrowed a shockingly tall step-ladder from the Maintenance Guys (cashing in some of that good will, I'd been building up) and dangled the globes from the ceiling in one of the front stairwells of the school. I was careful to put them out of reach of middle school boys, who would want to leap and bat at them like bionic kittens.
Students and teachers have been very impressed and my 7th graders are proud.
So here's the big question - was this project worth all the time and effort the students and I put into it? We addressed exactly one of the New Hampshire State Social Studies Framework standards. There is probably a better way to nail down the concepts of latitude and longitude. This was a lot of work.
On the other hand, it was a lot of fun. The students were EXTREMELY engaged. I've invested in their good will - now they know from experience that my projects won't be pointless and boring and stupid; they will be more likely to give me the benefit of the doubt on future projects. They produced something that they are proud of.
I don't regret spending the time and effort.

 RSS Feed